Deli sandwich rolls recipe
Every Sunday morning, my kitchen would fill with the smell of freshly baked deli sandwich rolls. It made every day feel special. Making your own rolls is more than baking. It’s about making memories and enjoying the simple joy of turning ingredients into something amazing.
Making deli sandwich rolls recipe at home is easier than you think. With just nine basic ingredients, you can make rolls that taste like they came from a bakery. These rolls are perfect for French dip sandwiches, meatball sliders, or classic subs. They make every bite unforgettable.
This recipe is for everyone, from beginners to experienced bread makers. You’ll learn how to make rolls that are crispy outside and soft inside. It’s a recipe for success.
Table of Contents
Deli sandwich rolls recipe
Essential Ingredients for Perfect Homemade Sandwich Rolls
Making delicious sandwich rolls starts with the right ingredients. Your baking will be amazing if you pick each part carefully. Knowing the key ingredients is key for top-notch results.
Before we get into the ingredients, let’s talk about what makes great sandwich rolls.
Basic Pantry Ingredients
Every sandwich roll starts with basic items you probably have at home:
- Flour (all-purpose or bread flour)
- Instant yeast
- Granulated sugar
- Kosher salt
- Warm water
- Vegetable or olive oil
Types of Flour and Yeast
The right flour changes your roll’s texture. Bakers say:
| Flour Type | Characteristics | Best Used For |
|---|---|---|
| All-Purpose Flour | Standard texture | Basic sandwich rolls |
| Bread Flour | Higher protein content | Chewier, more structured rolls |
For yeast, SAF-instant yeast is best. Use 2 tablespoons for most recipes.
Optional Ingredients for Enhanced Flavor
“The secret to extraordinary bread is in the subtle details of ingredients.”
Add these optional ingredients for extra flavor:
- Honey
- Potato flour
- Sesame seeds
- Egg white for glazing
The right mix of ingredients turns simple dough into amazing artisan bread rolls. They’ll wow your family and friends.
Deli sandwich rolls recipe
Equipment and Tools Required for Baking
To make perfect deli sandwich rolls, you need the right baking tools. Your kitchen’s tools will affect how well your homemade bread turns out. Professional bakers say the right tools can make a simple recipe into a masterpiece.
- Stand Mixer with Dough Hook: Essential for kneading dough well
- Large Mixing Bowl: Needed for mixing and letting dough rise
- Kitchen Scale: Important for accurate ingredient amounts
- Baking Sheet: Best if it’s a 13″ x 19″ rimmed sheet
- Parchment Paper: Stops dough from sticking and makes rolls easy to remove
- Pastry Brush: Used for egg wash
- Bread Lame: For scoring dough to get professional-looking rolls
- Cooling Rack: Helps rolls cool properly after baking
Your bread-making tools are key to getting professional results. A stand mixer with a dough hook makes kneading easier. A kitchen scale ensures you use the right amounts of ingredients.
“The right equipment transforms home baking from a challenge to a joy.” – Professional Baker
For the best results, choose high-quality baking tools. A good baking sheet and bread lame can make your sandwich rolls stand out.
| Tool | Purpose | Recommended Specification |
|---|---|---|
| Stand Mixer | Kneading Dough | Dough hook attachment |
| Baking Sheet | Baking Rolls | 13″ x 19″ rimmed metal sheet |
| Kitchen Scale | Precise Measurements | Digital with gram/ounce settings |
Quality bread-making tools will greatly improve your homemade sandwich rolls’ taste and texture.
Deli sandwich rolls recipe
The Science Behind Fluffy Deli Sandwich Rolls
Bread science shows how simple ingredients turn into tasty sandwich rolls. By understanding gluten development, dough rising, and kneading, you can make rolls like a bakery at home.
Understanding Gluten Development
Gluten development is key to making bread chewy and elastic. When flour and water mix, proteins start to connect. Bread flour, with 12 to 14% protein, is best for strong gluten.
- Protein content determines gluten strength
- Kneading helps align protein strands
- Hydration percentage impacts gluten formation
Role of Temperature in Dough Rising
Yeast needs the right temperature to make dough rise. The perfect temperature helps dough rise smoothly. You can add a bit more yeast (up to 1.8%) to slow down fat’s effect.
“Temperature is the silent conductor of bread’s symphony” – Artisan Baker
Importance of Proper Kneading
Kneading mixes ingredients into a smooth dough. Bakers mix for 2-3 minutes on low speed first. Then, they knead for 8 minutes on low-medium speed for the best texture.
| Kneading Technique | Impact on Dough |
|---|---|
| Low-speed initial mixing | Ingredient incorporation |
| Low-medium speed | Gluten network development |
| Window pane test | Determines gluten readiness |
With attention to these bread-making principles, your sandwich rolls will go from simple to professional-quality.
Step-by-Step Deli Sandwich Rolls Recipe
Making the perfect homemade hoagie rolls needs care and time. This recipe will turn your kitchen into a pro bakery. You’ll get restaurant-quality bread right at your table.
- 500g bread flour
- 125g sourdough starter
- 150g water
- 125g milk
- 25g olive oil
- 10g sea salt
- 11g diastatic dry malt powder
The secret to making tasty sandwich rolls is in the process. Follow these key steps:
- Prepare your sourdough starter at room temperature
- Mix dry ingredients thoroughly
- Combine wet ingredients with flour mixture
- Knead until smooth and elastic
- Allow first rise until doubled in size
- Shape into rolls
- Perform second rise
“Patience is the secret ingredient in creating perfect bread.” – Artisan Baker’s Wisdom
For baking your rolls, follow these precise instructions:
| Baking Parameter | Details |
|---|---|
| Oven Temperature | 425°F |
| Baking Time | 18-20 minutes |
| Steam Technique | 10 minutes with steam, 10 minutes without |
Pro tip: Brush rolls with egg wash before baking for a golden, glossy finish! Your homemade sandwich rolls will be ready to enjoy. They’ll have a crisp outside and a soft, fluffy inside. They’re perfect for any deli-style sandwich.
Mastering the Double Rise Technique
Getting good at bread rising is essential for making tasty deli sandwich rolls. The double rise method turns simple dough into a fantastic baking adventure. Your rolls will be light and fluffy, making everyone love them.
Learning the double rise method can really boost your baking. It lets gluten fully develop, making your rolls taste better and feel softer.
First Rise: Building the Foundation
The first rise is key for flavor and texture. Here are some tips to help:
- Choose a warm spot between 75°F to 80°F for optimal rising
- Use a lightly oiled bowl to prevent sticking
- Cover the dough with greased plastic wrap
- Allow 1-2 hours for the first rise
Second Rise: Refining the Texture
The second rise is when your dough really changes. Follow these steps for top-notch rolls:
- Shape the dough carefully after the first rise
- Let the dough rise for 45 minutes to 2 hours
- Ensure consistent temperature during rising
- Look for dough that has nearly doubled in size
“Patience is the secret ingredient in perfect bread making.” – Professional Baker’s Wisdom
Mastering these bread rising techniques will make your deli sandwich rolls soft, tasty, and hard to resist.
Shaping and Scoring Your Rolls
Learning how to shape bread is key for making deli sandwich rolls look professional. The right steps turn simple dough into beautiful, artisan-style bread.

Deli sandwich rolls recipe
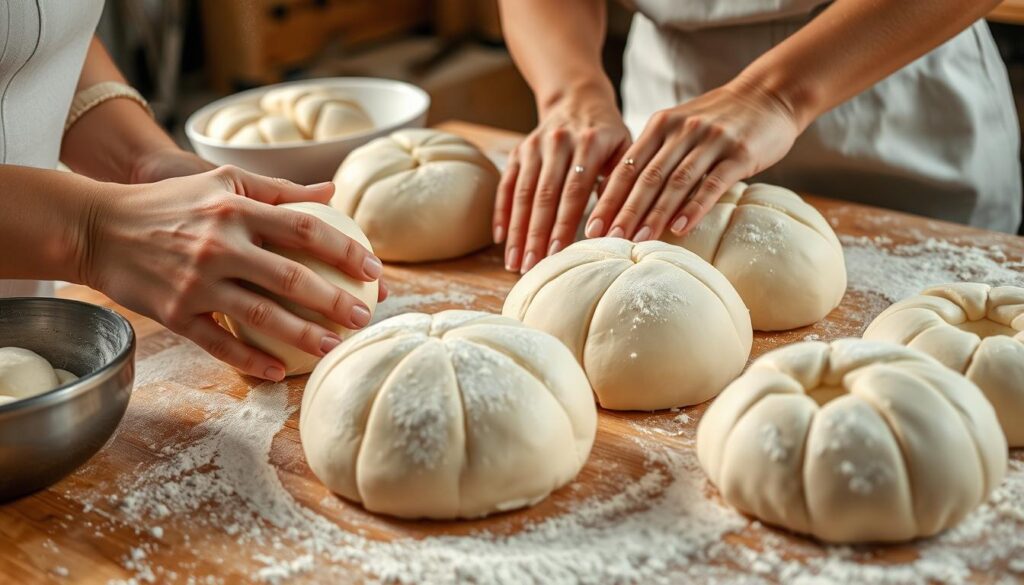
First, make sure your work area is lightly floured. Split your dough into equal parts using a kitchen scale for accuracy. Bakers say using a scale helps make rolls the same size.
- Use a scale to divide dough into 175-190g portions
- Gently pull and stretch dough to create smooth surfaces
- Pinch seams underneath to create a clean top
Scoring bread is more than just making it look good. It’s also important for letting the rolls grow in the oven. Use a sharp blade or a bread lame to make clean cuts on top of each roll.
“A well-scored roll isn’t just beautiful—it’s a mark of a skilled baker.”
To get the best results, dust your baking sheet with cornmeal before baking. This adds texture and prevents the rolls from sticking. Make shallow, diagonal cuts about 1/4 inch deep across the top of each roll. This lets steam out and creates the classic bakery look.
- Cut at a 45-degree angle
- Use swift, confident movements
- Keep cuts shallow but decisive
Remember, the more you practice, the better you’ll get at shaping bread. Every roll you make will help you get closer to making bakery-quality bread.
Professional Baking Tips and Tricks
Mastering bakery-style rolls needs precision and knowing professional baking techniques. Your homemade sandwich rolls can match commercial bakeries with expert strategies.
Creating perfect bakery-style rolls is more than just a recipe. Professional bakers say technique is key to great results.
Creating the Perfect Crust
To turn your home oven into a pro bakery, use these strategies:
- Use a water pan technique to create steam during baking
- Brush rolls with egg wash for a golden, glossy look
- Try different washes:
- Whole egg for a deep golden color
- Egg white for extra shine
- Melted butter for a softer exterior
Achieving Ideal Interior Texture
Professional baking focuses on dough consistency and handling. Remember these tips:
- Keep dough slightly sticky
- Avoid over-flouring during kneading
- Build gluten through stretching and folding
“Perfection in baking is about understanding your dough’s behavior, not just following instructions blindly.”
By using these professional baking techniques, your homemade bakery-style rolls will go from good to amazing.
Storage and Freezing Methods

Deli sandwich rolls recipe
Keeping your homemade deli sandwich rolls fresh is key. Knowing how to store them right can keep their taste and texture great for longer.
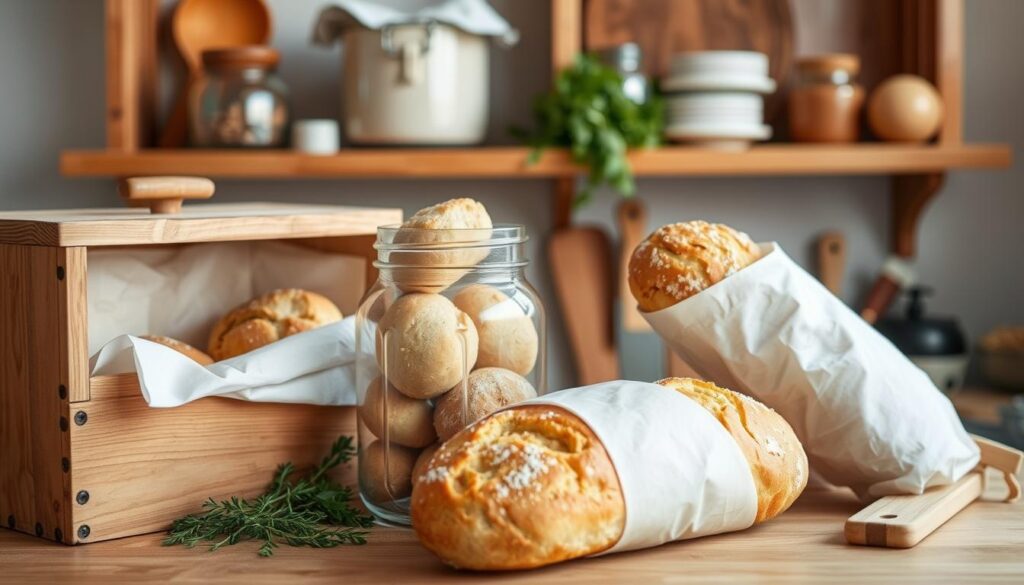
For a short time, store your rolls in an airtight container at room temperature. This is best for rolls you’ll eat in 2 days. Make sure the container is sealed tight to keep moisture in.
Freezing Homemade Rolls: Long-Term Preservation
Freezing your rolls is a smart way to keep them fresh longer. Here’s how to do it right:
- Cool rolls completely before freezing
- Wrap each roll in plastic wrap
- Put wrapped rolls in a freezer-safe bag
- Get rid of air in the bag to stop freezer burn
Your rolls can stay in the freezer for up to 3 months without losing quality. Just thaw the ones you want at room temperature for a few hours.
Reheating and Serving Tips
“The secret to great sandwich rolls is maintaining their texture, even after storage.” – Artisan Baker
To enjoy your rolls at their best, reheat them gently. Use the oven for a few minutes. This brings back their crispy outside and soft inside. A quick 2-3 minute warm-up at 350°F will make them taste like they just came out of the oven.
| Storage Method | Duration | Best For |
|---|---|---|
| Room Temperature | Up to 2 days | Immediate consumption |
| Freezer Storage | Up to 3 months | Long-term preservation |
Pro tip: Always label your frozen rolls with the date of storage to track freshness.
Conclusion
Making your own sandwich bread recipe is a fun journey into culinary creativity. With just 52 minutes of prep, you can turn simple ingredients into tasty homemade deli rolls. These rolls make any sandwich better.
Homemade deli rolls beat store-bought ones in many ways. You get to choose what goes into them, making them healthier and tastier. Plus, they’re only $2.00 per batch and have 163 calories per serving.
Don’t worry if it takes time to get it right. With each batch, you’ll get better at making sandwich bread. Try new herbs, change how long you let it rise, and play with different shapes. Your kitchen will become a bakery, making rolls that are both crispy and soft.
Baking homemade deli rolls is more than just cooking. It’s a skill that connects you to old bread-making traditions. Start with the basics, be patient, and enjoy the yummy results of your baking journey.
Deli sandwich rolls recipe

